Follow these 10 tips for your best aurora borealis pictures
The northern lights, also known as the aurora borealis, make for some of the finest photographs in the Arctic. But stunning as this phenomenon may be, good northern lights photography does not necessarily happen on its own. If you want to take your best pictures of the northern lights, it can help to know a few things about aurora-specific photography.
Here are ten of our favorite northern lights photography tips, all of them useful whether you're on a northern lights tour to Greenland, Northern Norway, or the polar-bear-filled shores of Svalbard.
While this article focuses on general tips for taking better aurora borealis photos, we also have a video (linked at the bottom) by an expert nature photographer that will give you additional tips specific to setting up your camera.

Image by Jurriaan Hodzelmans
1. Prepare for cold weather when capturing the northern lights
Sometimes travelers put so much thought into packing their photography equipment they overlook a far more important item: their body.
Taking pictures of the northern lights usually involves long periods of being outside, keeping an eye on the sky, waiting for that perfect shot. Not only can the sedentary nature of this wait make the cold worse, but northern lights cruises also take place during the coldest months of the Arctic year. This means you'll want to be prepped not just for long hours, but also the chill of the long Arctic night.
During Svalbard trips, temperatures can drop down to -40°C (-40°F). Make sure you have enough layers to deal with the cold, as well as some coffee or hot chocolate - and a good deal of patience, because Arctic weather doesn't always cooperate with clear skies.

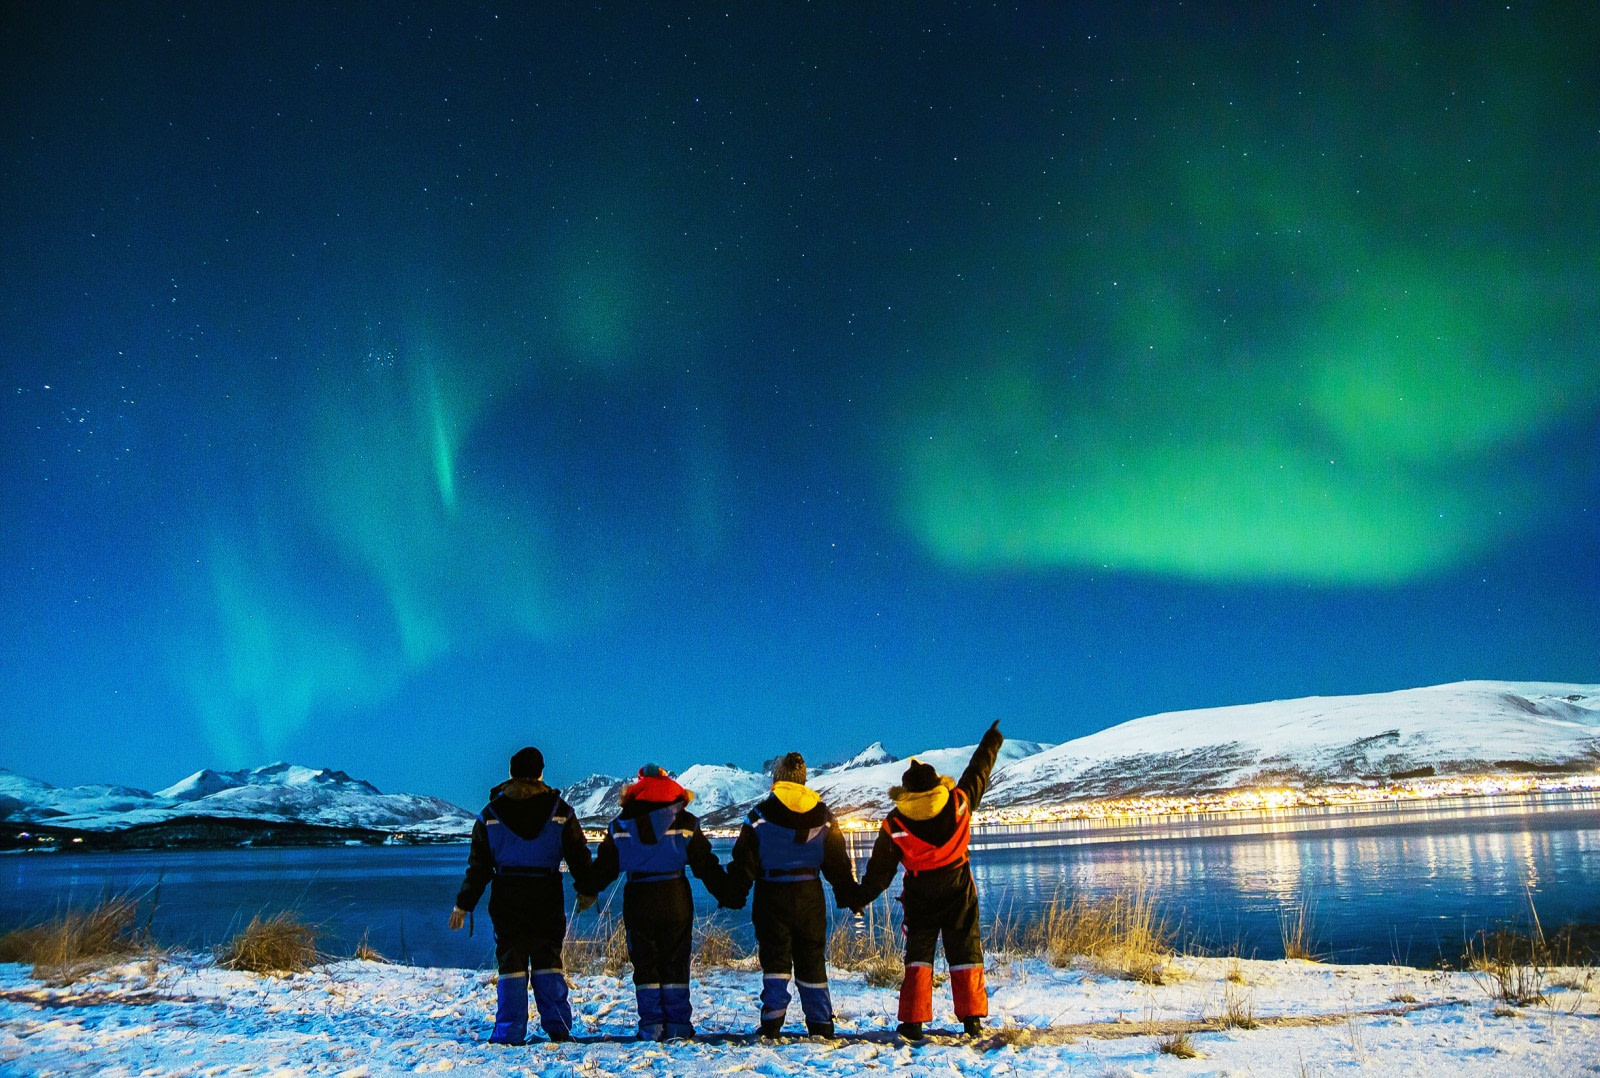
2. Frame your pictures of the northern lights
We don't mean the kind of frame you put around your northern lights pictures once you get them back home. We mean framing in the sense of putting something other than auroras in the photo to give the northern lights contrast and scale.
Snowy hills and mountains do the trick, and open water can give you some great reflections. You might want to use water with snowy rock or land in it, however, so it doesn't look like merely a continuation of the night sky. Man-made objects also help with scale. A tent, building, Zodiac boat, or one of our cruise ships provides scale people can relate to.
Lastly, sticking a person in your northern lights picture never hurts. At the very least, it can add a human touch to pictures that might get repetitive if they merely capture the same natural phenomenon over and over.

3. Get a “still” northern lights picture
When it comes to shooting the northern lights, you'll probably want to capture a single moment in time instead of a time-lapse. Time-lapse pictures look great with star trails, but they can muddy the edges of the “waves” of the northern lights.
Make sure your shutter opens long enough to capture the light, since you'll be shooting at night. How long your shutter should remain open depends on your focal length: The wider the shot, the shorter your lens (the lower the number) should be.
There's a general rule of thumb, known as the “500 Rule,” for night photography. If you're working with a lens of 50 mm, your shutter can be open a maximum of 10 seconds per shot (500 ÷ 50 = 10). If you’re working with a lens of 18 mm, your shutter time should be no more than 27.8 seconds. Also, it's best to round down and not up.
Extra note: If you intend to print your pictures of the northern lights, be pepared to see light trails. Trails are difficult to avoid, but they often don't show up to the naked eye until a picture is enlarged. Watch out for these before committing to a print.

Image by Johan Vesters
4. Take some remote pictures of the northern lights
If your camera comes with a remote control, use it to take most of your northern lights pictures. Pressing the button manually can often cause just enough movement in the camera to make the stars blur. In other words, a remote is a great way to avoid those aforementioned light trails.

Image by Jurriaan Hodzelmans
5. Experiment with your ISO
Unfortunately, there's no rule when it comes to the ISO setting of your camera. You want to set your ISO in that sweet spot between letting in enough light to get an image but not letting in so much light so that you get noise.
What you do want to make sure of is that if you're shooting RAW pictures, your camera's version of Long Exposure Noise Reduction is turned on. Not all cameras give the option to turn this off, however. If you're shooting .jpg pictures (RAW is preferred), you’ll want both Long Exposure Noise Reduction and High ISO Noise Reduction on.

6. Take most of your pictures of the northern lights on land
Our expedition cruise ships anchor in bays where there are relatively calm waters, but there's still going to be some motion on board.
You can avoid the blurring this will cause by shooting the majority of your northern lights pictures on good solid Earth - even if it is covered with snow. This will be better for stability whether you're shooting with a tripod and remote or snapping pictures of the northern lights the old-fashioned way.

Image by Tobias Brehm
7. Take a tripod for truly crisp northern lights pictures
This northern lights photography tip goes hand-in-hand with a few we've already mentioned, but it bears over-mentioning. Taking pictures of the northern lights by hand is certainly enjoyable, making you feel connected to what you're capturing in a way that a remote-and-tripod system just can't.
So please know that we're not convincing you to give it up, at least not entirely. But if you want truly crisp northern lights pictures, consider incorporating a tripod into your act. This will reduce the blue that is a necessary part of hand-held camera work.

Image by Jan Belgers
8. Keep your batteries warm in the Arctic
Once you've mastered keeping your body warm in the Arctic environment, be sure to keep your camera's batteries warm too.
Batteries tend to act up when cold, or more likely not act at all. If you keep your extra batteries in an inside pocket so your body keeps them warm, you'll have plenty of reliable backups in case your camera's primary battery takes a dump. This happens all too often.

Image by Johan Vesters
9. Take off your filters to get pictures of the northern lights without rings
We don't recommend using filters on your lenses when taking northern lights pictures. Your subject is colored light itself, which interacts with the filter in such a way that annoying rings are often caused when you take pictures of the northern lights. As mentioned, the best aurora photography tech is a good tripod and remote.

Image by Lothar Kurtze
10. Pre-focus your lens for that perfect northern lights picture
It can be tricky to get a sharp focus at night for your pictures of the northern lights. A lot of cameras have auto-focus features, but they tend to malfunction when cold.
If your auto-focus isn't working and there's still daylight, switch your camera to manual focus and zoom all the way in on an object in the distance (like a feature of the cruise ship if you’re on shore, or maybe the top of a mountain). From there you can try the infinity focus on your lens (marked with “∞”). You can also switch to the live view on your camera, focus on a distant object, and manually work your focus until the image looks sharp.
Just make sure to turn your live view off when taking your northern lights picture, as the light from your camera's monitor may be visible otherwise.

Image by Tobias Brehm
And as always, practice your northern lights photography
This is just a starter's guide to taking pictures of the northern lights. There are many more technical steps that can be learned along the way, and in fact we even offer photo workshops that will teach you many of them, but the best way to get the most out of your particular camera is to just start snapping.
Play with the settings, discover how you like to frame shots, and remember to lower the lens once in awhile and simply enjoy the magical play of the northern lights.

Image by Jurriaan Hodzelmans
Camera setup tips by a professional nature photographer
In this informative video, veteran expedition guide and nature photographer Sara Jenner provides you some excellent additional tips on how to set up your camera for optimal northern lights photography.


